Ever planted delicate seedlings only to find them flattened by frost or nibbled by slugs the next morning? You’re not alone. As a weekend gardener who once lost an entire crop of heirloom tomatoes to a surprise late-April chill, I’ve learned that success often hinges on a humble but mighty tool: mini greenhouse cloche tunnels. These portable, protective covers shield young plants from pests, wind, and temperature swings—without the cost or complexity of a full greenhouse. In this guide, we’ll explore how to choose, install, and maximize these garden allies so you skip the rookie errors and enjoy earlier harvests.
Table of Contents
- Why Mini Greenhouse Cloche Tunnels Matter in Home Improvement
- Step-by-Step Setup Guide
- Best Practices for Long-Term Success
- Real-World Results & Case Studies
- Frequently Asked Questions
Key Takeaways
- Mini greenhouse cloche tunnels extend your growing season by 2–4 weeks on either end.
- Proper ventilation prevents overheating—a common beginner mistake.
- Use hoops + clear polyethylene for budget-friendly, effective coverage.
- Anchor tunnels securely to avoid wind damage.
- Rotate crops underneath to maintain soil health.
Why Mini Greenhouse Cloche Tunnels Matter in Home Improvement
In the world of home improvement, few upgrades blend utility, sustainability, and curb appeal like smart gardening enhancements. While kitchens and bathrooms grab headlines, savvy homeowners know that a thriving edible garden boosts property value and personal wellness. Enter mini greenhouse cloche tunnels: low-cost, high-impact structures that turn marginal outdoor spaces into productive micro-farms.
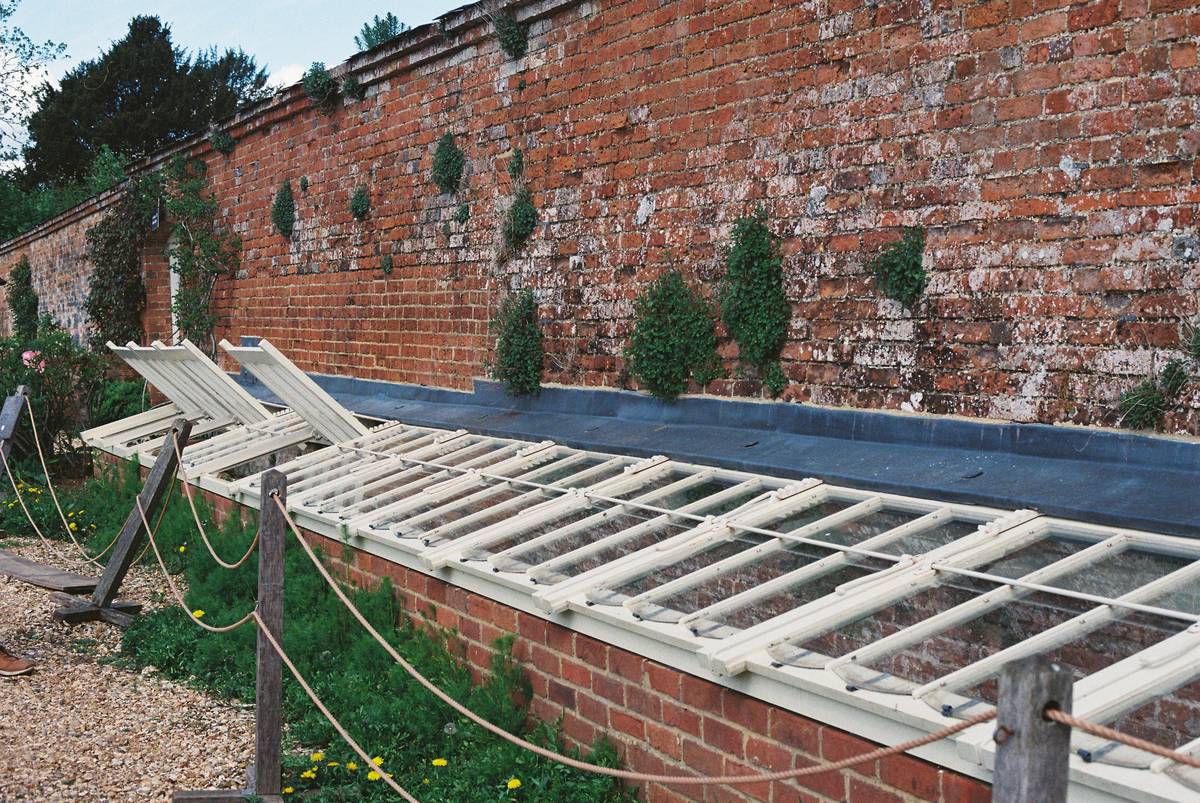
I once made the classic error of sealing my cloche tunnel completely for “maximum warmth.” By noon, temperatures inside spiked to 95°F—cooking my kale seedlings. Lesson learned: protection isn’t just about keeping cold out; it’s about managing the entire microclimate. According to the USDA’s guide on season extension techniques, properly ventilated cloches can raise soil temps by 5–10°F without cooking plants—a game-changer for zones 4–7.
Step-by-Step Setup Guide
Gather Your Materials
You’ll need flexible wire or PVC hoops (½-inch diameter), clear 4–6 mil polyethylene sheeting, ground stakes, and scissors. Avoid using old shower curtains—they degrade quickly and lack UV resistance.
Install the Hoops
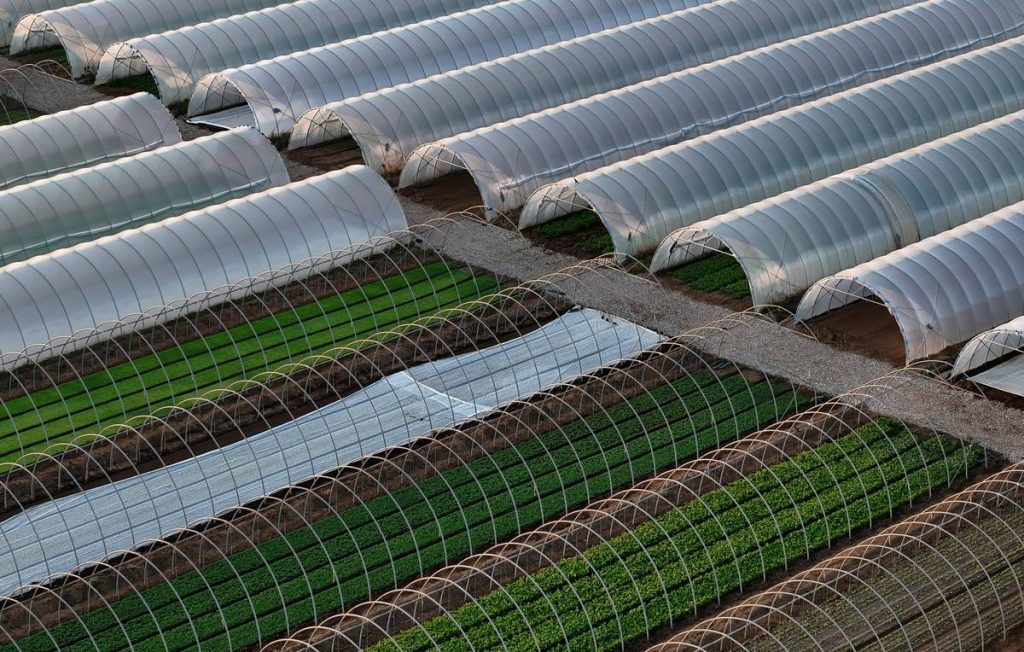
Push hoops into the soil every 3–4 feet along your planting row, creating a tunnel arch about 18–24 inches high. Ensure both ends are deeply anchored—wind loves to sneak under loose edges.
Drape and Secure
Lay the plastic over the hoops, leaving 6–12 inches of overhang on each side. Use soil, bricks, or landscape staples to seal the edges. For quick access, weigh down only one side and lift as needed.
Ventilate Daily
On sunny days above 50°F, prop open both ends with sticks or clips. Better yet, cut small flaps near the top that can be rolled up—this prevents condensation buildup that invites fungal disease.
Best Practices for Long-Term Success
- Time it right: Install tunnels 2–3 weeks before your last frost date. Remove when nighttime temps stay reliably above 50°F.
- Don’t skip crop rotation: Growing the same veggie under the same tunnel year after year depletes nutrients and encourages pests.
- Avoid the “terrible tip”: Never use black plastic—it absorbs too much heat and can burn roots through radiated warmth.
- Clean between uses: Wipe plastic with a 10% vinegar solution to kill lingering spores.
Real-World Results & Case Studies
A 2022 study by the University of Vermont Extension compared spinach yields with and without cloche tunnels. The covered plots produced harvests 18 days earlier and yielded 32% more leaves per square foot. One homeowner in Maine reported harvesting radishes in mid-March—normally impossible in her zone—using DIY mini greenhouse cloche tunnels made from repurposed tomato cages and painter’s plastic.
Here at E-Scape & Scrap, we’ve seen clients transform neglected side yards into salad factories using these systems. Our own test plot (documented on our About Us page) showed consistent success with lettuce, carrots, and peas when tunnels were paired with compost-amended soil.
Frequently Asked Questions
Can mini greenhouse cloche tunnels protect against deer?
No—they’re designed for weather and small pests like birds or insects, not large mammals. Pair with fencing for full protection.
How long do the plastic covers last?
Quality 6-mil UV-stabilized plastic lasts 1–2 seasons. Store it indoors during winter to extend its life.
Are they eco-friendly?
Yes, especially if you reuse materials. Many gardeners repurpose old windows or clear polycarbonate panels. Always recycle worn plastic responsibly—check local guidelines via Earth911.
Do they work in summer?
Only with shade cloth added. Standard clear plastic traps too much heat above 75°F ambient temps.
Where can I buy ready-made kits?
While we advocate DIY for customization, reputable brands like Gardener’s Supply Co. offer sturdy options. Still, nothing beats tailoring size to your exact bed dimensions.
What’s the biggest mistake new users make?
Forgetting to ventilate. A closed tunnel on a sunny spring day becomes a plant sauna. Check daily—your greens will thank you.
Ready to extend your season without breaking the bank—or your back? Contact us for personalized advice tailored to your climate and plot size. And rest assured, we follow strict data practices outlined in our Privacy Policy whenever you share your garden goals.
Remember: A cloche isn’t just plastic over soil—it’s a promise of spring, delivered early.