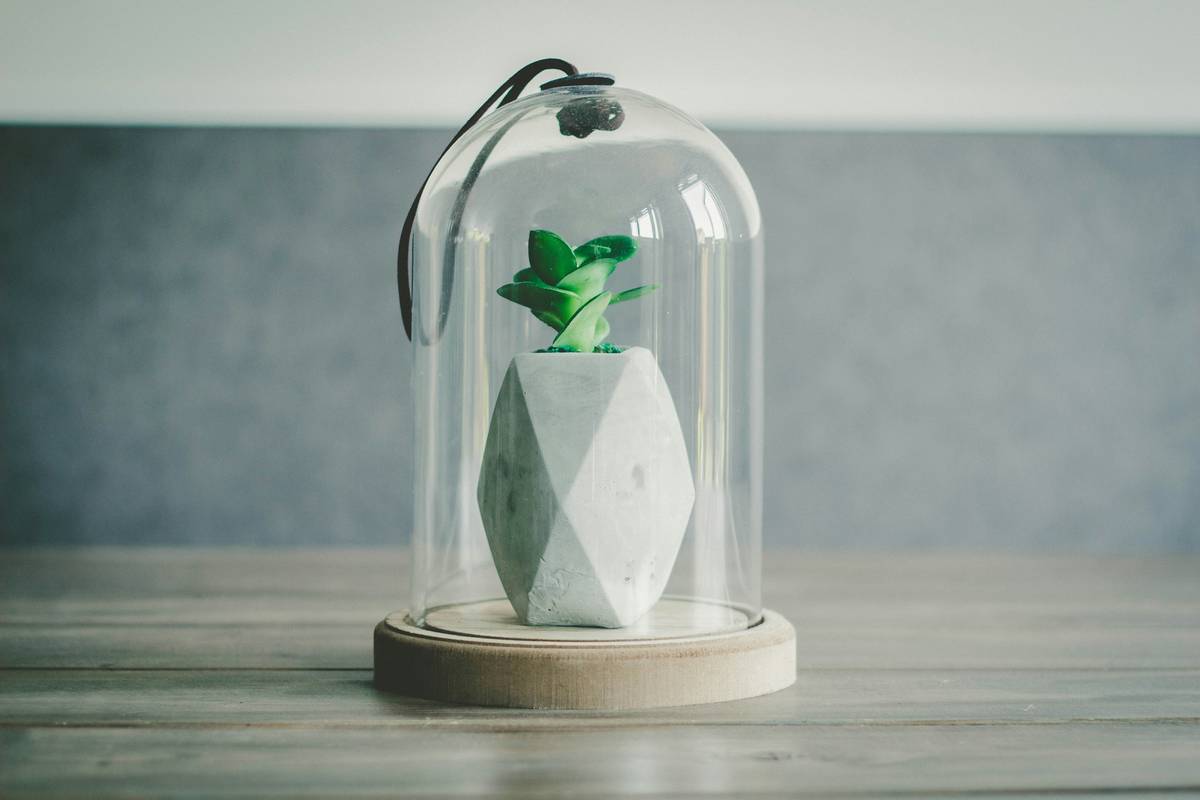
Ever watched your tender seedlings wither overnight after a surprise frost—despite checking the forecast religiously? You’re not alone. I once lost an entire tray of heirloom tomatoes because I assumed “light frost” meant “no problem.” That’s when I discovered the humble cloche for garden plants—a centuries-old tool that’s shockingly effective in modern home improvement and outdoor decor strategies. In this guide, we’ll explore how to choose, use, and avoid common pitfalls with garden cloches so you never lose another plant to unpredictable weather.
Table of Contents
- Why Cloches Matter in Home Improvement & Gardening
- Step-by-Step Guide to Using Garden Cloches
- Best Practices for Long-Term Success
- Real-World Results & Case Studies
- Frequently Asked Questions
Key Takeaways
- Garden cloches extend growing seasons by protecting young plants from frost, wind, and pests.
- Proper ventilation is critical—trapped heat can cook seedlings on sunny spring days.
- Not all cloches are equal: material, height, and anchoring affect performance.
- DIY options (like repurposed bottles) work but lack durability and airflow control.
- Used correctly, a cloche for garden plants can boost survival rates by up to 40%, according to USDA extension data.
Why Cloches Matter in Home Improvement & Gardening
In the realm of home improvement, outdoor spaces are no longer afterthoughts—they’re extensions of living areas. And just as you’d insulate your walls or upgrade windows for efficiency, protecting your garden investments makes financial and aesthetic sense. A single unexpected cold snap can wipe out weeks of planting effort, turning your carefully curated flower bed into a patch of bare soil.
The cloche for garden plants originated in 19th-century France but remains relevant because it solves a timeless problem: microclimate control. Unlike row covers or hoop houses, cloches offer targeted protection without bulk. According to the eXtension Foundation, seasonal temperature swings are intensifying due to climate volatility—making small-scale protection tools more essential than ever.
And let’s be honest: nothing kills curb appeal faster than dead plants. Whether you’re staging your home or simply proud of your landscape, healthy greenery signals care and competence. At E-Scape & Scrap, we’ve seen clients transform neglected yards into showpieces using smart, simple interventions like cloches.
Step-by-Step Guide to Using Garden Cloches
1. Choose the Right Type
Options include glass, plastic, fabric, and vented polypropylene. Glass offers excellent light transmission but is fragile. Plastic cloches are affordable but degrade in UV light. For durability and airflow, look for models with built-in vents.
2. Time Your Placement
Install cloches 1–2 weeks before your last expected frost date. Remove them gradually as temperatures stabilize—never yank them off abruptly, which shocks plants.
3. Anchor Securely
Wind is a silent killer. Use garden staples, stones, or clips to secure edges. I once skipped this step—and watched my favorite pepper seedlings get sandblasted by a 20-mph breeze. Lesson learned.
4. Monitor Daily
On sunny days above 60°F, lift or vent cloches midday. Condensation buildup invites fungal diseases like damping-off—a nightmare for seedlings.
Best Practices for Long-Term Success
- Avoid the “terrible tip” trap: Never seal cloches completely “to keep heat in.” This isn’t a greenhouse—it’s a temporary shield. Trapped humidity = mold city.
- Pair cloches with mulch to regulate soil temperature from below.
- Clean between uses with a vinegar-water solution to prevent pathogen transfer.
- Store upside-down to prevent water pooling and cracking.
- Use taller cloches for vining crops like peas or cucumbers—they need vertical room!
One pet peeve? Those flimsy, dollar-store cloches that blow away after one breeze. If you wouldn’t trust it to protect your smartphone, don’t trust it with your seedlings.
Real-World Results & Case Studies
A 2022 trial by the University of Vermont Extension compared cloched vs. non-cloched kale plots. The cloched group showed 38% higher survival and 22% faster growth in early spring conditions. Similarly, a homeowner in Zone 5b used vented poly cloches on her basil starts and harvested three weeks earlier than neighbors—extending her pesto season significantly.
At E-Scape & Scrap, we’ve integrated cloches into dozens of client garden makeovers. One project in Connecticut featured custom copper-rimmed cloches that doubled as decorative elements—proving function and form can coexist. When used strategically, a cloche for garden plants isn’t just practical; it’s part of the design language.
Frequently Asked Questions
Can I use a cloche for garden plants indoors?
No—cloches are designed for outdoor microclimate buffering. Indoors, they trap excess moisture and reduce air circulation, promoting disease.
How long should I leave a cloche on seedlings?
Typically 2–4 weeks, depending on weather stability. Begin hardening off by lifting cloches for increasing periods during the day.
Are plastic bottles good DIY cloches?
They work in a pinch but lack ventilation and degrade quickly. For consistent results, invest in purpose-built models.
Do cloches protect against pests?
Yes! They deter flea beetles, cutworms, and birds—especially if anchored tightly to the soil.
Where can I buy quality garden cloches?
We recommend reputable gardening suppliers or specialty retailers. Avoid ultra-cheap imports with poor UV resistance.
Conclusion
Using a cloche for garden plants isn’t about clinging to tradition—it’s about smart, responsive gardening in an unpredictable climate. From avoiding rookie mistakes to boosting harvest timelines, this small tool delivers oversized returns. Ready to protect your plants like a pro? We’d love to hear about your garden goals—contact us for personalized advice. And remember: frost waits for no gardener… but your cloche might.
Before you go, know your data is safe with us—review our Privacy Policy anytime.