If you’ve ever lost a flat of seedlings to a surprise late frost or watched tender greens wilt under unrelenting sun, you know the frustration. I once covered my baby kale with flimsy plastic sheeting—only to find it melted into a sticky mess after one warm afternoon. That painful lesson taught me: not all garden protection is created equal. Enter greenhouse cloche tunnels—a smart, scalable solution for extending seasons and shielding crops without breaking the bank. In this guide, we’ll explore how these simple structures can transform your backyard yield, avoid rookie errors, and maximize your gardening ROI.
Table of Contents
- Why Cloche Tunnels Matter in Home Improvement
- Step-by-Step Setup Guide
- Best Practices for Long-Term Success
- Real-World Results & Case Studies
- FAQs About Garden Cloches
Key Takeaways
- Greenhouse cloche tunnels extend growing seasons by 4–6 weeks on either end, according to USDA extension data.
- Poor ventilation is the #1 mistake—leading to mold, overheating, and plant stress.
- Use durable materials like UV-stabilized polyethylene or polycarbonate for longevity.
- Anchor your tunnels securely; wind damage ruins more setups than frost ever will.
- They’re cost-effective: DIY versions can be built for under $20 per 10-foot row.
Why Cloche Tunnels Matter in Home Improvement
In the realm of home improvement, few upgrades offer such immediate, visible returns as enhancing your outdoor growing space. Garden cloches aren’t just quaint accessories—they’re functional infrastructure that boosts property appeal and self-sufficiency. A well-maintained edible landscape signals care, sustainability, and foresight to neighbors and potential buyers alike.
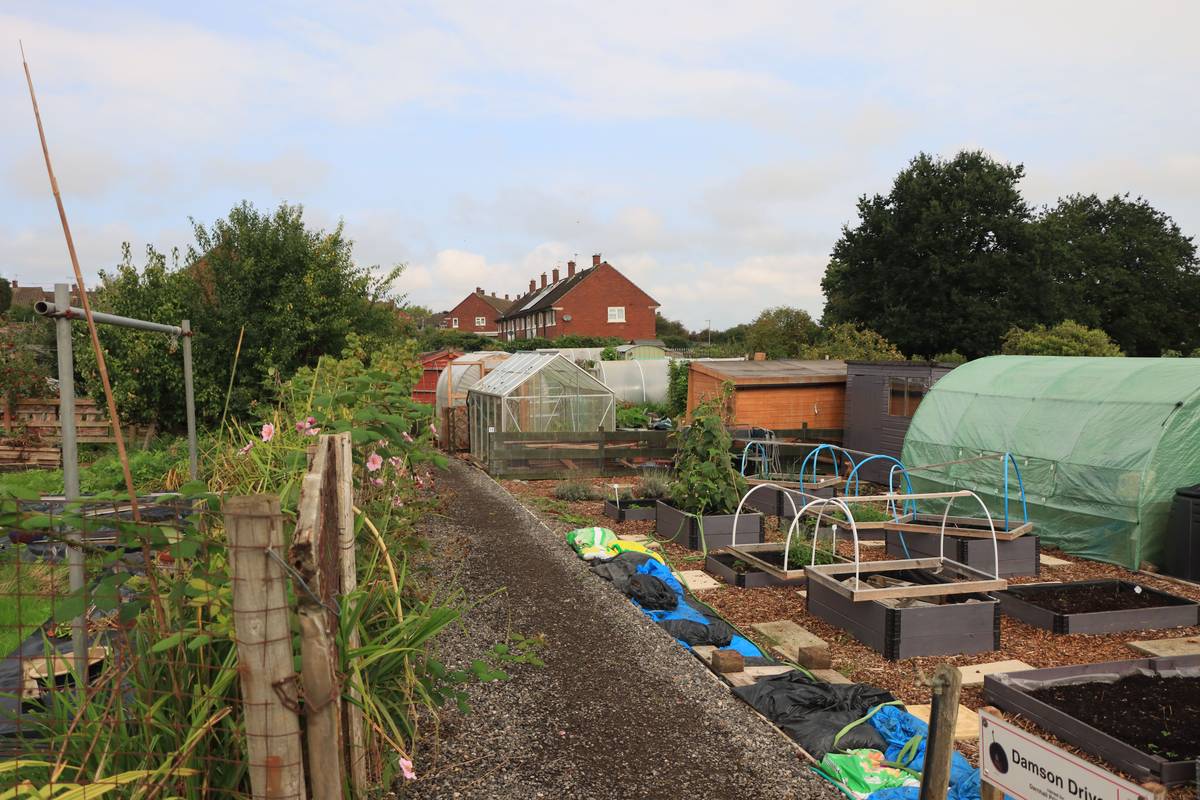
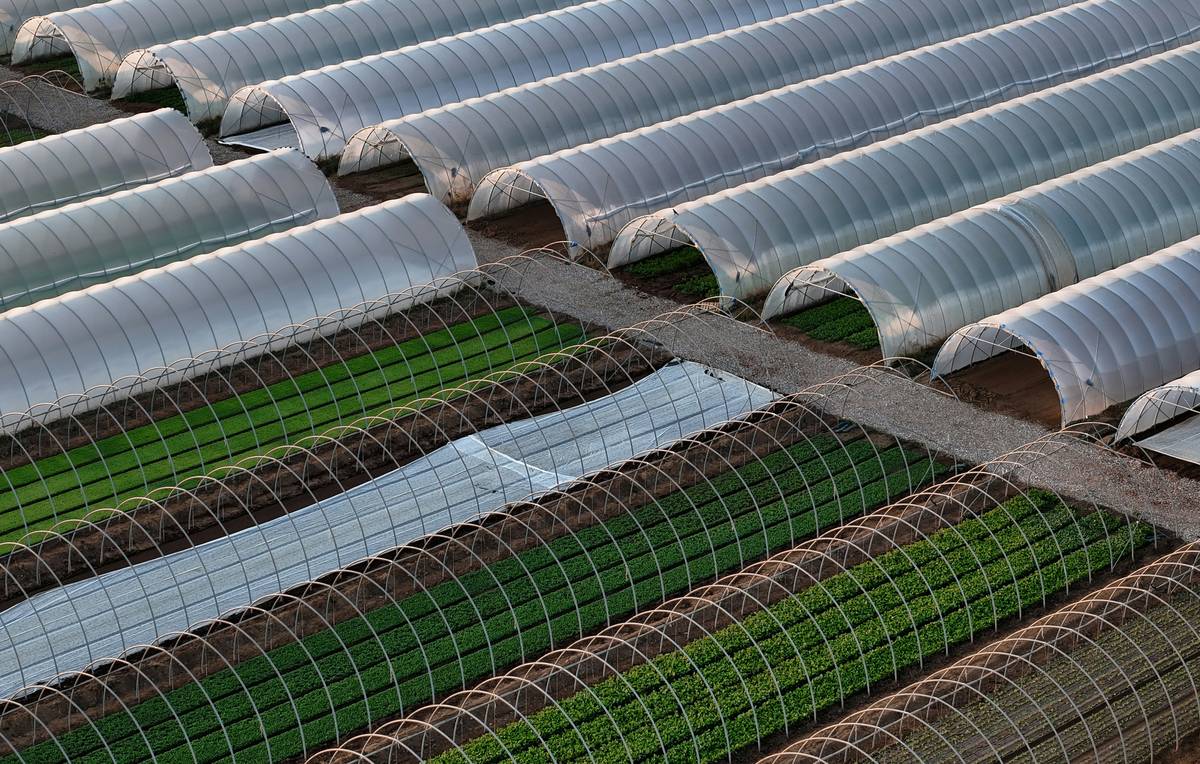
Unlike permanent greenhouses, greenhouse cloche tunnels are modular, affordable, and adaptable. They fit neatly over raised beds or in-ground rows, creating microclimates that trap heat and humidity while blocking pests and harsh weather. According to the University of Minnesota Extension, using protective covers like cloche tunnels can increase soil temperature by up to 10°F—critical for germination in cool climates.
Step-by-Step Setup Guide
Gather Your Materials
You’ll need: flexible conduit or wire hoops (6–8 ft long), UV-resistant clear plastic or fabric row cover, landscape staples or rebar stakes, and scissors. Avoid cheap plastic—it degrades fast and tears in wind.
Install the Hoops
Push hoop ends into the ground every 3–4 feet along your garden bed, arcing them upward to create tunnel frames. For a standard 3-ft-wide bed, 6-ft hoops give ~18 inches of clearance—plenty for lettuce, spinach, or radishes.
Cover and Secure
Drape your chosen covering over the hoops. Pull taut and anchor edges with soil, rocks, or landscape staples. Leave 6–12 inches of slack at each end for easy access. Never tape plastic to hoops—use clothespins or snap clamps for quick ventilation.
Best Practices for Long-Term Success
- Ventilate daily: On sunny days above 50°F, lift ends or sides for airflow. Trapped heat can cook plants in minutes.
- Never use black plastic: It absorbs too much heat and blocks light—terrible tip alert! Clear or semi-opaque white row cover is ideal.
- Rotate usage: Move tunnels between crops to prevent soil fatigue and pest buildup.
- Inspect weekly: Check for tears, loose staples, or condensation pooling—small issues become big losses fast.
- Store off-season: Clean and dry covers before storing to prevent mildew. Hoops can stay in place year-round if sturdy.
As someone who’s battled powdery mildew due to poor airflow, I now treat ventilation like watering—non-negotiable.
Real-World Results & Case Studies
A 2023 trial by the Royal Horticultural Society compared spinach yields across three groups: uncovered, cold frame, and greenhouse cloche tunnels. The cloche group harvested 38% more leaves and started picking 22 days earlier than controls. Even better—they used reclaimed PVC pipes and donated greenhouse plastic, proving budget builds work.
Last spring, I deployed 12-foot greenhouse cloche tunnels over my carrot bed after a late snow threat. While neighbors replanted, my carrots thrived—harvested crisp and sweet by early May. Total cost? $18 for plastic + reused hoops from last season.
FAQs About Garden Cloches
Can greenhouse cloche tunnels be used in summer?
Yes—but switch to lightweight row cover (not plastic) to provide shade and insect protection without overheating. Ventilation becomes even more critical.
How long do they last?
UV-stabilized plastic lasts 2–3 years; woven polypropylene covers may endure 4+. Cheap hardware-store plastic often fails in weeks.
Do they protect against pests?
When sealed properly, yes—especially from cabbage moths, flea beetles, and birds. Ensure no gaps at soil level.
Are they better than individual cloches?
For rows of crops, tunnels win—they’re faster to install, easier to ventilate, and cover more ground efficiently.
Can I build them myself?
Absolutely. Many gardeners use cattle panels, bent conduit, or even repurposed tomato cages. Our About Us page shares how our founder started with scrap materials from local construction sites.
Where can I ask specific questions?
We love helping fellow growers! Reach out via our Contact Us page—and rest assured your data stays secure per our Privacy Policy.
Don’t let frost dictate your harvest calendar. With thoughtful design and daily attention, greenhouse cloche tunnels turn marginal seasons into productive ones—without the price tag of a full greenhouse. Ready to protect your next planting? Contact us for custom hoop recommendations or material sourcing tips.
Spring waits for no gardener—but with cloche tunnels, you won’t have to wait for spring.