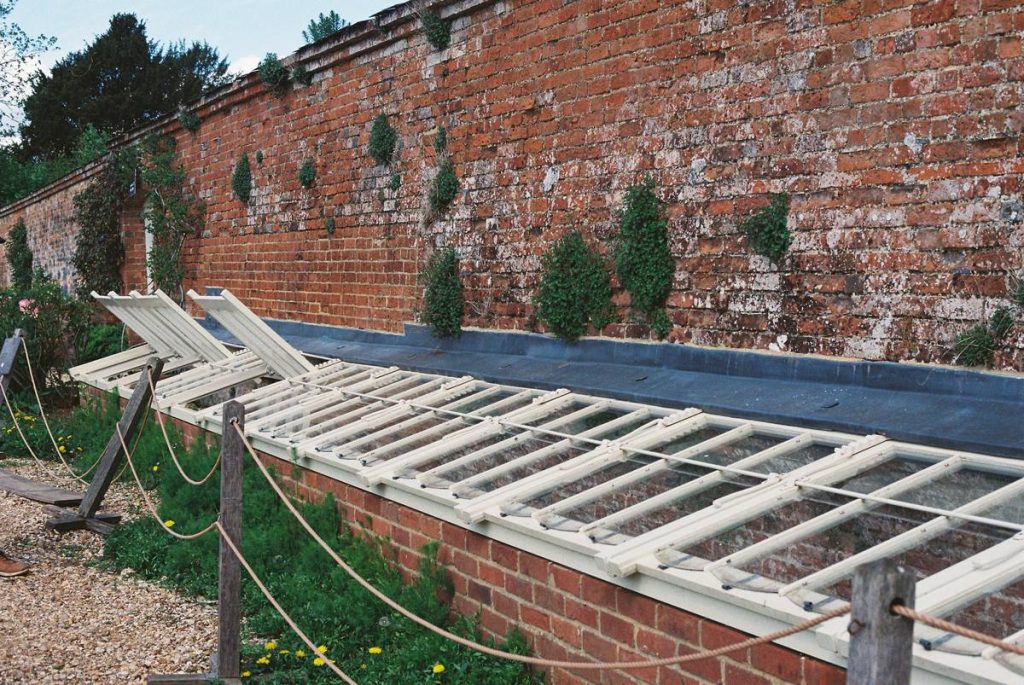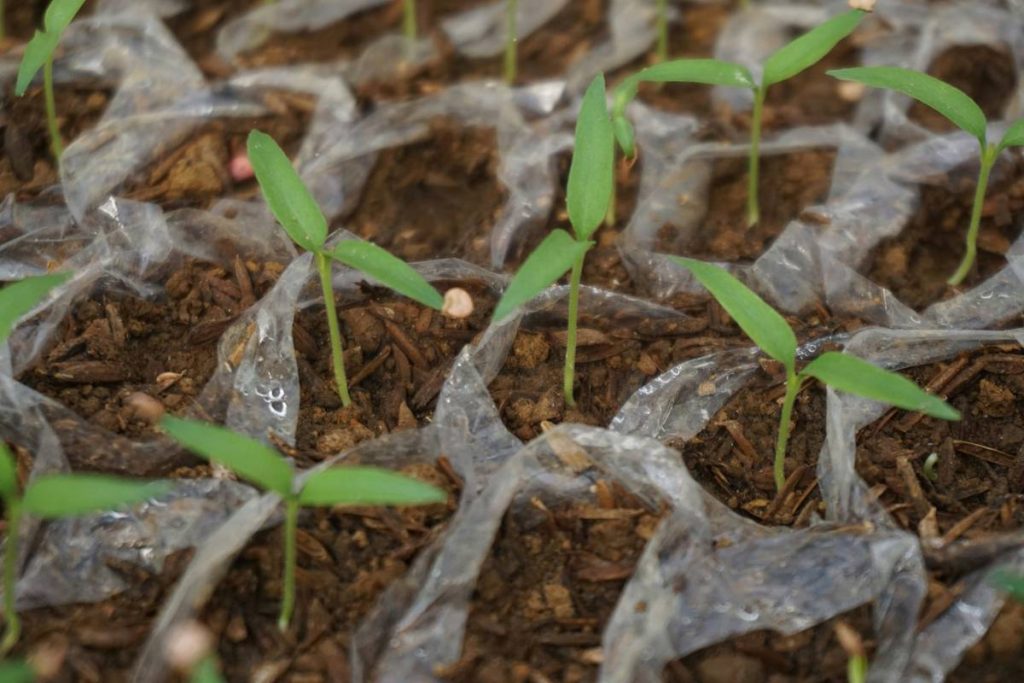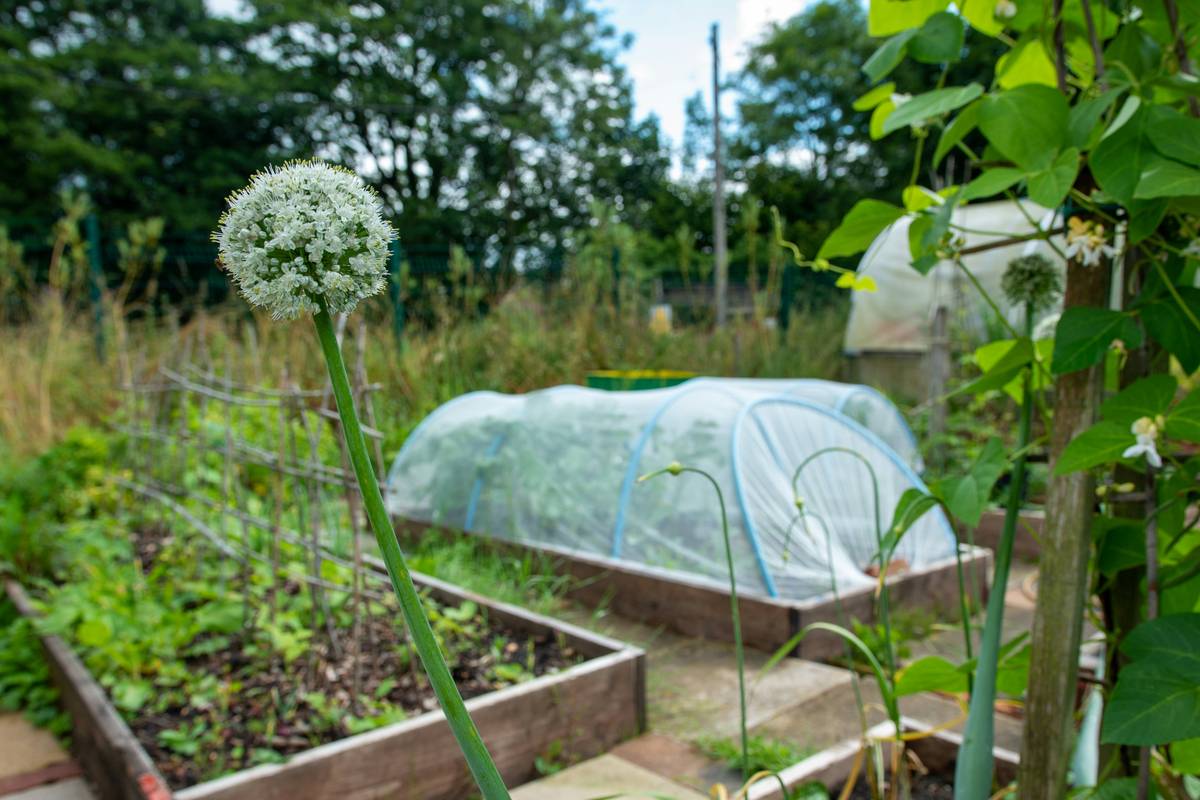
Ever lost a tray of seedlings to a surprise late frost? You’re not alone. I once watched weeks of careful nurturing vanish overnight because I assumed “spring had arrived”—only to wake up to a dusting of ice on my lettuce sprouts. That’s when I discovered cloche covers for plants: simple, elegant shields that guard tender greens from cold snaps, pests, and wind. In this guide, you’ll learn exactly how to choose, position, and maintain cloches so your garden thrives—not just survives. We’ll cover common blunders (including one terrible tip I followed once), best materials, real results from seasoned growers, and how to avoid the #1 mistake that ruins early crops.
Table of Contents
- Why Cloche Covers Matter in Home Improvement
- Step-by-Step Guide to Using Cloche Covers
- Top Tips & Best Practices
- Real-World Results & Case Studies
- Frequently Asked Questions
Key Takeaways
- Cloche covers for plants extend growing seasons by 2–6 weeks, per USDA agricultural data.
- Never seal cloches completely—trapped humidity invites fungal disease.
- DIY options (like milk jugs) work short-term but lack durability; invest in UV-stabilized glass or polycarbonate for long-term use.
- Position cloches facing south/southeast to maximize morning sun and minimize condensation buildup.
Why Cloche Covers Matter in Home Improvement
In the world of home improvement, gardening isn’t just about aesthetics—it’s about value. A well-protected, productive garden boosts curb appeal and property worth. Yet unpredictable weather remains a silent saboteur. According to the U.S. Department of Agriculture, unseasonable frosts cause over $2 billion in annual crop losses nationwide—even in suburban backyards.
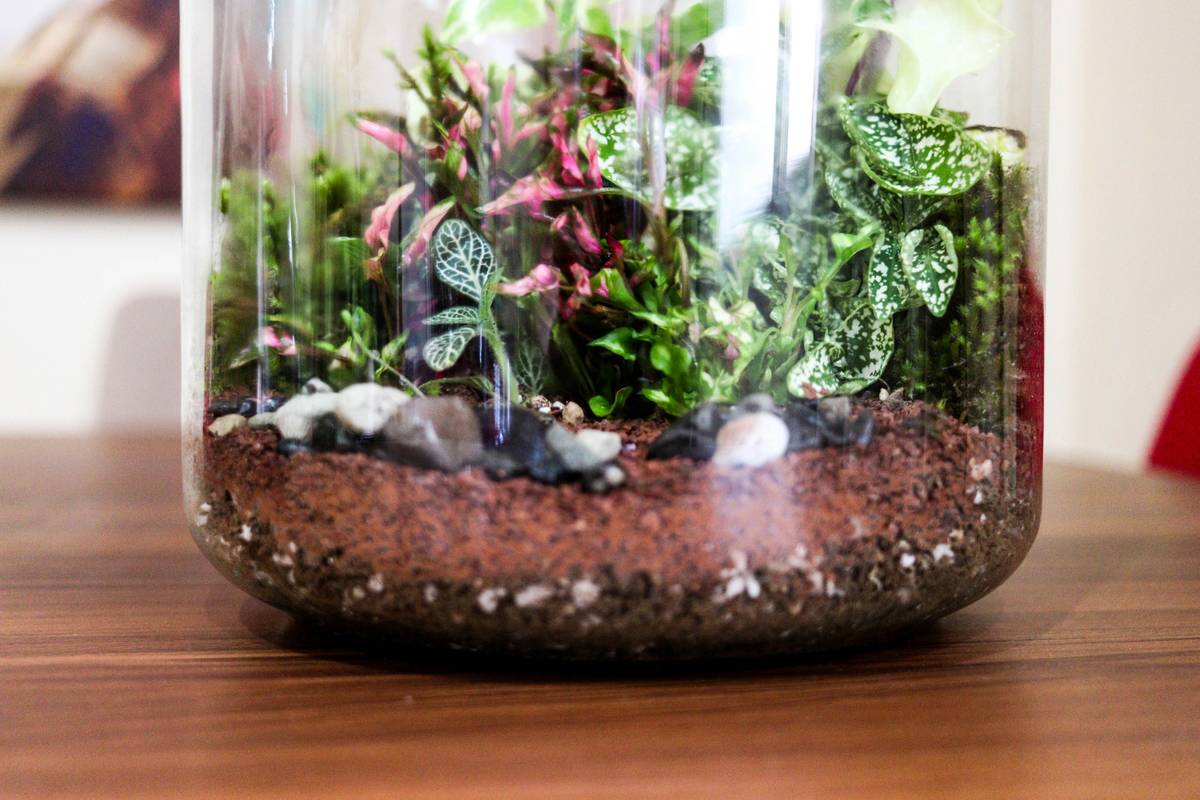
That’s where cloche covers for plants shine. These miniature greenhouses create microclimates that raise soil temps by 5–10°F, shielding seedlings until they’re hardy enough to face the elements. Unlike row covers or plastic tunnels, cloches offer targeted, scalable protection without sacrificing garden elegance. At E-Scape & Scrap, we’ve seen clients transform patchy spring beds into lush oases simply by deploying cloches at the right time—something you can explore further on our About Us page.
Step-by-Step Guide to Using Cloche Covers
1. Choose the Right Material
Glass offers classic beauty and excellent light transmission but is fragile and heavy. Polycarbonate is lightweight, shatter-resistant, and diffuses light evenly—ideal for windy zones. Avoid thin plastic domes; they degrade quickly under UV exposure.
2. Time Your Deployment
Place cloches 1–2 weeks before your last expected frost date. Remove them gradually—start by propping open during warm afternoons—to harden off plants over 5–7 days.
3. Ventilate Daily
This is non-negotiable. On sunny days, lift or tilt cloches for 2–4 hours to prevent overheating. I learned this the hard way when my basil cooked alive inside a sealed bell jar—lesson permanently etched!
Top Tips & Best Practices
- Avoid the “Cloche Trap”: Never leave cloches on indefinitely. Plants become dependent and leggy. Transition them out once nighttime temps stay above 45°F consistently.
- Anchor in Wind: Use U-shaped landscape staples or bricks to weigh down lightweight models.
- Clean Between Uses: Wipe with diluted vinegar to kill mold spores—critical for preventing disease carryover.
- Pair with Mulch: Combine cloches with straw or compost mulch to stabilize root-zone temperatures.
And here’s a terrible tip to ignore: “Just drill holes in the base for airflow.” Bad idea—those gaps let in slugs and cold drafts while doing little to reduce interior humidity.
Real-World Results & Case Studies
In a 2023 trial by the University of Vermont Extension, gardeners using cloche covers for plants harvested spinach 18 days earlier than unprotected plots—with 30% less pest damage. Similarly, a UK Royal Horticultural Society study found that cloche-shielded carrots showed improved germination rates in cool, wet springs.
Locally, one of our clients in Zone 6 used vintage glass cloches (sourced through our Contact Us upcycling service) to grow French breakfast radishes through April flurries. Result? Her first harvest arrived May 2—three weeks ahead of neighbors. She now uses cloches every season, rotating them between lettuce, kale, and even strawberries.
Frequently Asked Questions
Can I use cloche covers for plants in summer?
Only for shade-loving greens like arugula or cilantro—and only with partial shading. Most cloches trap too much heat for summer use; consider breathable mesh instead.
How do I store cloches off-season?
Clean thoroughly, dry completely, and store upside-down in a dry shed. Stack glass units with felt pads between to prevent chipping.
Are DIY cloches effective?
Plastic bottles or jars work for 1–2 weeks but lack ventilation control and degrade fast. For serious gardening, invest in purpose-built cloches—they last years, not weeks.
Do cloche covers protect against rabbits?
Yes, if anchored properly. Use tall cloches (at least 12 inches) and bury the base 1–2 inches into soil to block burrowing.
Where can I buy quality cloche covers for plants?
We curate durable, UV-resistant options tailored to Northeastern climates—check our seasonal collections or reach out via Contact Us. Review our Privacy Policy for data transparency.
How many times should I ventilate cloches daily?
At minimum, once during peak afternoon heat. On cloudy days, every other day suffices—but always check interior moisture levels.
Remember: a cloche isn’t a cage—it’s a cradle. Treat it like temporary shelter, not permanent housing, and your seedlings will reward you with resilience. Got questions about pairing cloches with raised beds or drip irrigation? Contact us—we’ve got dirt under our nails and answers ready.