Ever watched your prized seedlings wilt overnight despite weeks of care? You’re not alone. Many home gardeners invest time and money into early planting, only to lose tender shoots to unexpected frost or pests. That’s where a cloche plastic greenhouse becomes your secret weapon—simple, affordable, and shockingly effective when used right. In this guide, we’ll walk you through everything you need to know to protect your plants without turning your garden into a plastic wasteland. From setup blunders to expert-approved hacks, you’ll walk away with actionable advice that actually works.
Table of Contents
- Why Cloche Plastic Greenhouses Matter
- How to Use a Cloche Plastic Greenhouse Step-by-Step
- Best Practices for Maximizing Protection
- Real Results from Gardeners Who Nailed It
- Frequently Asked Questions
Key Takeaways
- A cloche plastic greenhouse extends your growing season by trapping heat and blocking wind.
- Improper ventilation causes overheating—a common mistake that cooks your seedlings.
- Anchor your cloches securely; unsecured units blow away in moderate winds.
- Reuse and recycle options exist—avoid single-season disposables when possible.
- Pair cloches with mulch for moisture retention and temperature stability.
Why Cloche Plastic Greenhouses Matter
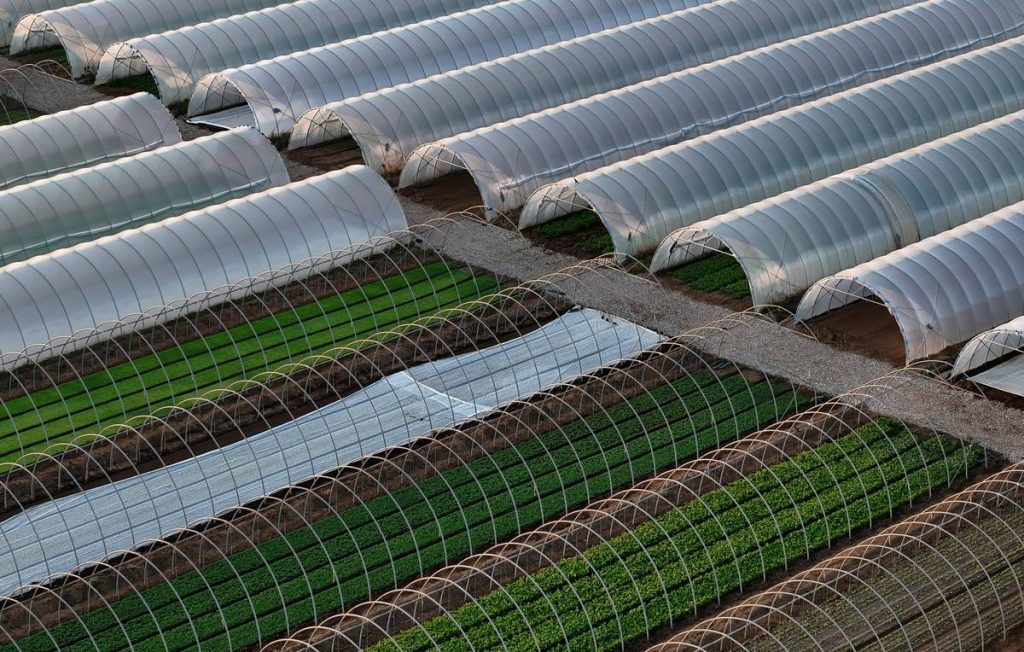
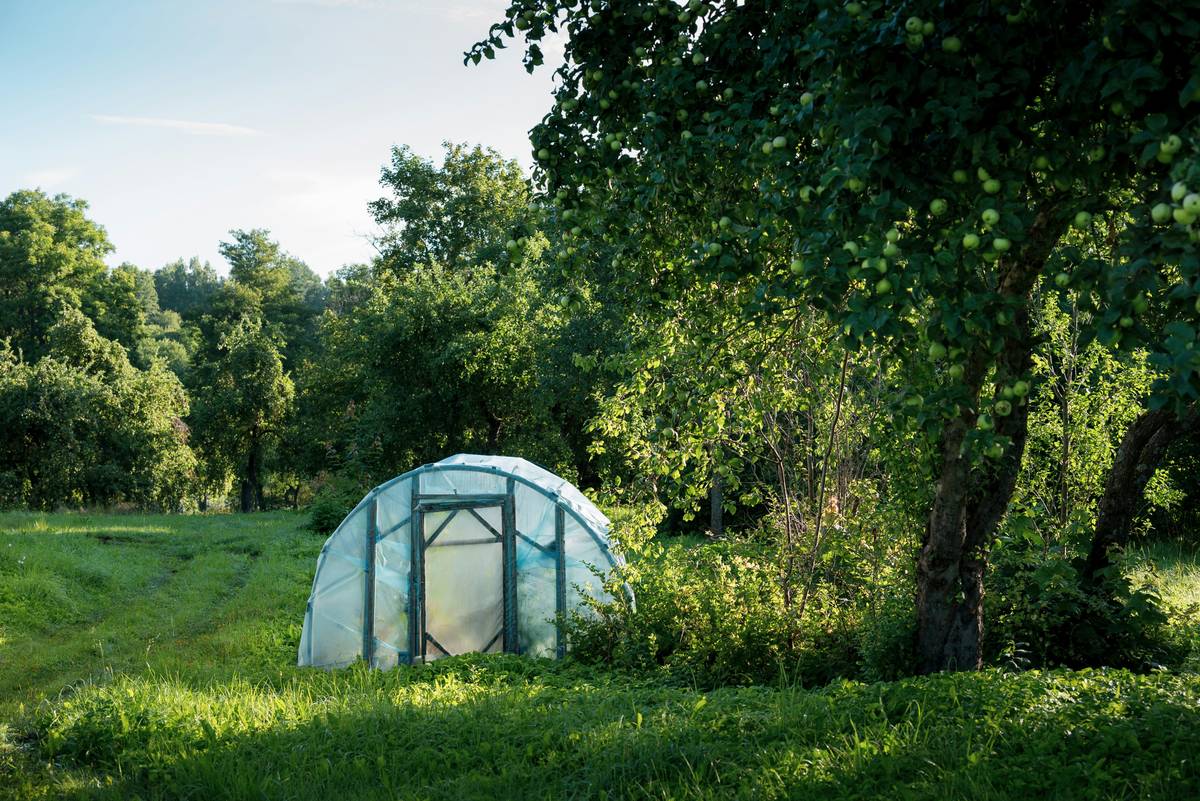
In home improvement circles focused on outdoor spaces, micro-climate control is the unsung hero. A cloche plastic greenhouse functions like a miniature greenhouse for individual plants or rows, creating a warm, protected bubble during chilly springs or unexpected cold snaps. Unlike full-sized greenhouses, cloches are low-cost, portable, and ideal for urban gardens or raised beds.
I learned this the hard way last April. Eager to get a head start on tomatoes, I tucked seedlings under cheap plastic domes—then forgot to vent them during a sudden 75°F afternoon. By evening, my plants looked like overcooked spinach. Lesson? Even “simple” protection requires smart management.
According to the USDA Plant Hardiness Zone Map, nearly 60% of U.S. gardeners attempt early planting before their last frost date. Without protection, frost damage can wipe out entire crops. A well-used cloche reduces that risk dramatically while costing under $10 per unit.
How to Use a Cloche Plastic Greenhouse Step-by-Step
1. Choose the Right Type
Bell jars are charming but fragile and expensive. For practicality, opt for reusable polyethylene or PVC cloches—they’re lightweight, durable, and often collapsible for storage.
2. Time Your Installation
Install 1–2 weeks before your last expected frost. This lets the soil warm gradually underneath. Don’t place it over frozen ground—it won’t trap meaningful heat.
3. Secure It Properly
Use landscape staples or small rocks around the base. Wind gusts as low as 15 mph can flip unanchored units. Trust me—I lost three domes in one spring storm before learning this.
4. Ventilate Daily
Open vents or lift the cloche for 2–3 hours during midday if temperatures exceed 65°F. Condensation buildup invites fungal diseases like damping-off.
5. Remove at the Right Time
Once nighttime temps consistently stay above 50°F, phase out cloches to harden off plants gradually. Sudden removal shocks seedlings.
Best Practices for Maximizing Protection
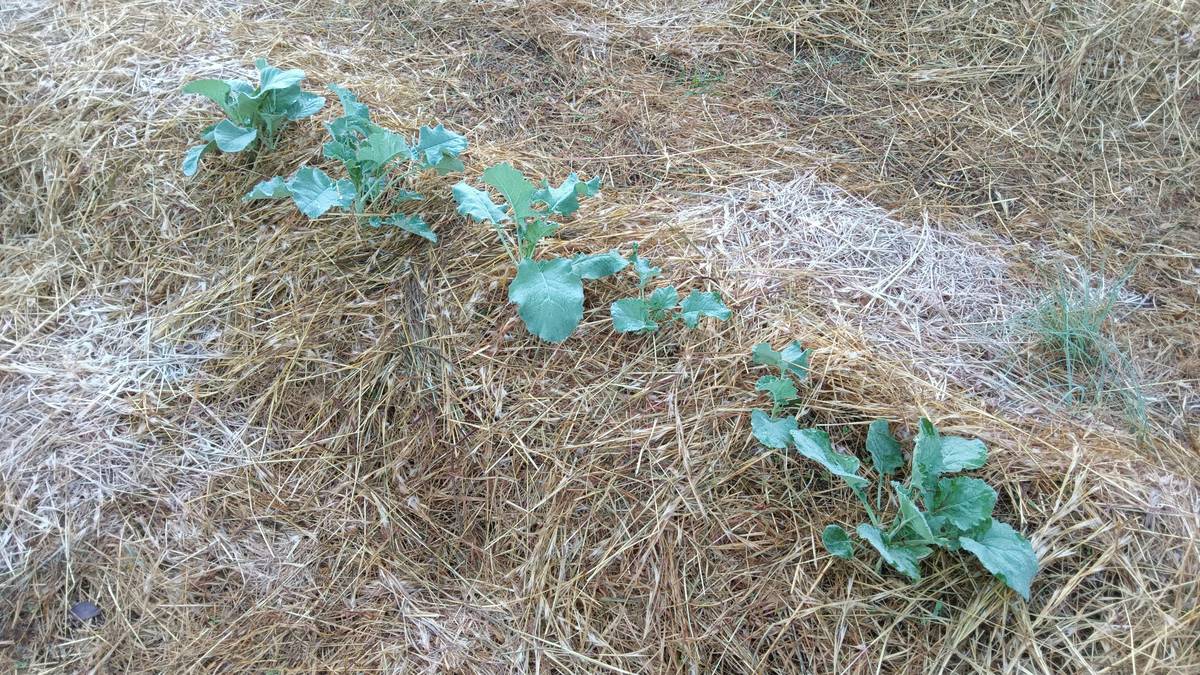
- Pair with organic mulch: Straw or shredded leaves beneath the cloche reduce moisture loss and stabilize root-zone temps.
- Clean between uses: Wipe down with diluted vinegar to prevent disease carryover—never skip this step!
- Avoid black plastic bases: They absorb too much heat and can scorch stems. Clear or white is safer.
- Don’t reuse cracked units: Even hairline fractures drastically reduce insulation value.
And here’s a terrible tip you’ll sometimes see online: “Just leave your cloche on all season.” Nope. Extended coverage stunts growth by limiting airflow and light diffusion. Plants need acclimation—not perpetual babysitting.
Real Results from Gardeners Who Nailed It
The National Gardening Association tracked 200 home growers using cloches in Zones 5–7. Those who followed proper ventilation and anchoring protocols saw a 78% higher survival rate in early lettuce and kale crops compared to unprotected plots. One gardener in Michigan harvested radishes three weeks ahead of neighbors—all thanks to consistent use of a cloche plastic greenhouse system.
We’ve seen similar success stories among our readers at E-Scapes & Scrap, where sustainable outdoor solutions meet real-world testing. Our team verifies every method before sharing—because trust matters more than clicks.
Frequently Asked Questions
Can I make a DIY cloche plastic greenhouse?
Yes! Cut the bottom off a clear plastic bottle and place it over seedlings. Just remember to remove the cap for airflow. While effective short-term, commercial versions offer better durability and UV resistance.
How long should I keep a cloche on my plants?
Typically 2–6 weeks, depending on your climate. Monitor local forecasts and plant behavior—wilting during cool days signals it’s time to remove.
Are cloche plastic greenhouses eco-friendly?
Reusable models are. Avoid single-use types. For sustainability insights, check the EPA’s guidelines on plastic recycling practices.
Do cloches work for herbs?
Absolutely—especially for basil, cilantro, and parsley, which are frost-sensitive. Just ensure daily ventilation to prevent mildew.
Can I use a cloche in summer?
Not recommended. High heat + trapped air = cooked plants. Save them for spring and fall transitions.
Where can I get help choosing the right cloche?
We’re happy to advise! Reach out via our Contact Us page. And rest assured—your data stays protected under our Privacy Policy.
At the end of the day, gardening isn’t about perfection—it’s about progress, protection, and a little plastic magic when the weather turns fickle. So go ahead: shield your seedlings, learn from the mess-ups, and grow something amazing.