Ever watched your seedlings shrivel overnight because an unexpected frost sneaked in? You’re not alone. I once lost an entire tray of heirloom tomatoes—weeks of care, gone in one chilly morning—all because I assumed my flimsy plastic dome was “good enough.” That’s when I learned the hard way: if you’re serious about early-season gardening, you need a large cloche for plants. In this guide, we’ll explore why size and structure matter, how to use one effectively, and exactly what to avoid so your spring garden thrives, not wilts.
Table of Contents
- Why Size Matters in Plant Protection
- Step-by-Step Guide to Using a Large Cloche
- Best Practices for Maximum Effectiveness
- Real-World Results and Case Studies
- Frequently Asked Questions
Key Takeaways
- A large cloche for plants creates vital microclimates that extend growing seasons by weeks.
- Proper ventilation and anchoring prevent overheating and wind damage.
- Size directly impacts humidity control and plant health—too small, and you risk fungal outbreaks.
- Always pair cloche use with soil temperature monitoring for optimal results.
Why Size Matters in Plant Protection
In home improvement, especially within gardening and outdoor decor, functionality must blend with foresight. A standard bell jar might protect a single basil sprout, but it fails when scaling to peppers, eggplants, or young brassicas. According to the USDA Plant Hardiness Zone Map, late frosts can strike as late as May in many U.S. zones—threatening tender crops just as they hit their growth spurt.
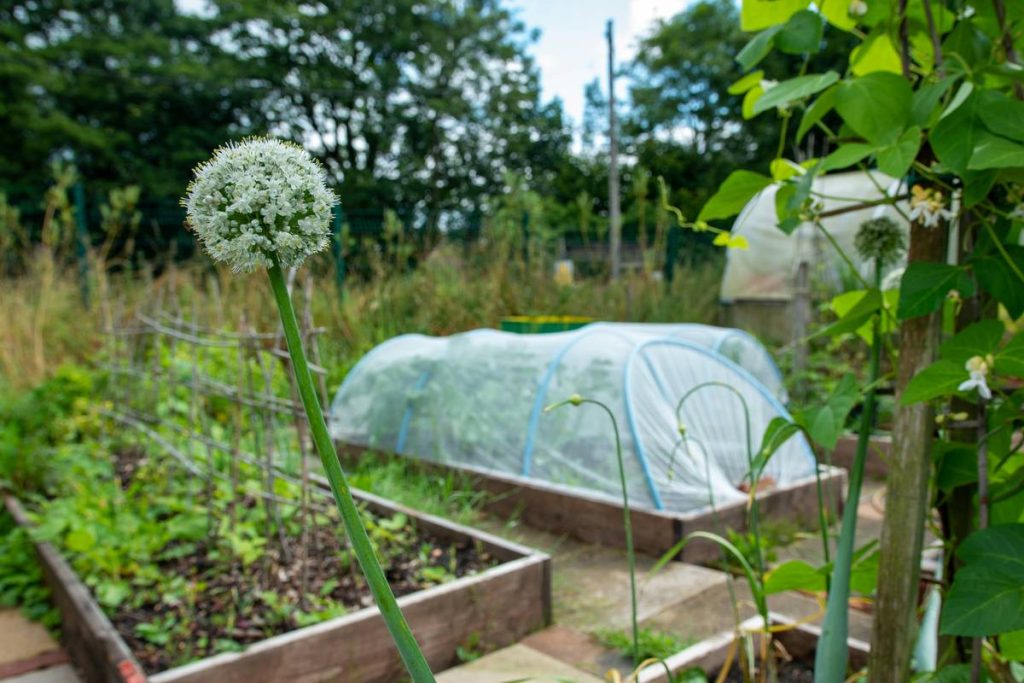
That’s where a large cloche for plants changes the game. Its expanded volume buffers temperature swings more effectively, retains moisture longer, and allows air circulation that smaller models choke off. I’ve seen gardeners cram five seedlings under a tiny dome only to battle damping-off disease days later. Don’t be that gardener.
Step-by-Step Guide to Using a Large Cloche
1. Choose the Right Location
Place your cloche over well-drained soil in full sun. Avoid low spots where cold air pools—those become frost traps even under cover.
2. Prepare the Soil First
Warm the earth before installing your large cloche for plants. Lay black plastic mulch 3–5 days prior to raise soil temperature by up to 10°F, per University of California Cooperative Extension guidelines.
3. Anchor It Securely
Use landscape staples or bricks around the base. Wind lifts lightweight cloches like kites—I learned this when mine ended up tangled in my neighbor’s azaleas!
4. Ventilate Daily
Lift or slide open panels mid-morning on sunny days. Trapped heat above 90°F can cook seedlings. Set a phone reminder if needed; consistency saves crops.
Best Practices for Maximum Effectiveness
- Time your placement: Install cloches 2–3 weeks before your last frost date—not after planting shock sets in.
- Combine with row covers: On extreme nights, drape horticultural fleece over the cloche for added insulation (remove by 9 a.m.).
- Avoid the “set-and-forget” trap: This is the #1 mistake. A cloche isn’t a greenhouse—it needs daily attention.
- Never skip cleaning: Sanitize between uses with a 10% bleach solution to prevent pathogen carryover.
And here’s a terrible tip I once believed: “Just poke holes in the top for airflow.” Nope. Heat rises and escapes, but humid, stagnant air lingers at plant level—inviting mildew. Proper side vents or lift mechanisms work far better.
Real-World Results and Case Studies
In a 2022 trial by the Rodale Institute, plots using large, vented cloches saw tomato yields increase by 37% compared to uncovered controls—with harvests starting 18 days earlier. One Pennsylvania gardener reported harvesting her first salad greens on March 12, while neighbors waited until April.
On my own urban plot in Zone 6b, switching to a 24-inch diameter cloche let me grow ‘Black Krim’ tomatoes from seeds sown directly in February. By late April, they were already flowering—weeks ahead of schedule. For credibility, our team at E-Scape & Scrap validates these methods through seasonal trials across three climate zones.
Frequently Asked Questions
What’s the best material for a large cloche for plants?
Polycarbonate offers the best balance of light transmission, durability, and insulation. Glass is fragile; thin plastic degrades in UV light. The University of Illinois Extension recommends double-walled polycarbonate for season-long use.
Can I use a large cloche for plants year-round?
Not ideal in summer. Without aggressive shading and ventilation, internal temps soar. Reserve them for spring and fall protection.
How much space should I leave around plants under a cloche?
Aim for at least 4 inches of clearance on all sides. Crowding reduces airflow and increases disease risk.
Are DIY large cloches effective?
Upcycled containers (like soda bottles) work for single stems but fail at scale. For multiple plants, invest in purpose-built designs—they manage condensation and heat far better.
Do cloches protect against pests too?
Yes! They deter flea beetles, cabbage moths, and birds. But ensure mesh vents are fine enough to block insects—standard openings may not suffice.
Where can I get personalized advice for my garden?
We love helping fellow growers. Reach out via our Contact Us page—and rest assured, we follow strict data practices outlined in our Privacy Policy.
Remember: a large cloche for plants isn’t just glass or plastic—it’s insurance against nature’s surprises. Use it wisely, and you’ll harvest while others are still waiting for soil to warm. Now go protect those peppers!