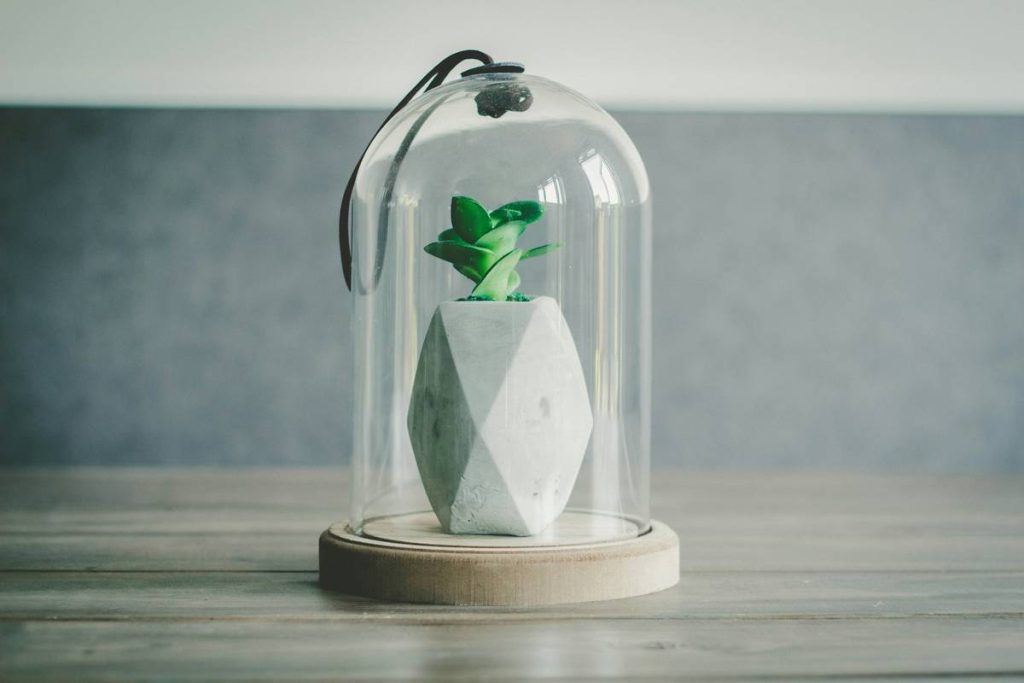
If you’ve ever watched a late frost turn your tender seedlings into soggy, wilted disappointments, you know the agony every gardener dreads. That’s where garden cloches for plants step in—not as fancy garden ornaments, but as frontline defenders of your early-season crops. In this guide, we’ll walk you through everything you need to know to use them effectively, avoid rookie blunders, and actually get results that boost your harvest—not your frustration.
Table of Contents
- Why Garden Cloches Matter in Home Improvement
- How to Use Garden Cloches Correctly: A Step-by-Step Guide
- Top Tips & Best Practices for Maximum Protection
- Real Results: Case Studies and Success Stories
- Frequently Asked Questions
Key Takeaways
- Garden cloches for plants extend the growing season by protecting against frost, wind, and pests.
- Improper ventilation is the #1 mistake—even on cloudy days, overheating can kill seedlings.
- DIY options (like milk jugs) work well but require modification for airflow.
- Positioning, timing, and monitoring are more important than material aesthetics.
- Always remove or vent cloches during daytime warming to prevent plant stress.
Why Garden Cloches Matter in Home Improvement
In the world of home improvement, outdoor spaces are no longer just lawns and patios—they’re extensions of your living area and food system. A thriving garden boosts curb appeal, property value, and self-sufficiency. But unpredictable spring weather? It’s the silent saboteur.
According to the USDA Plant Hardiness Zone Map, over 60% of U.S. gardeners attempt to start plants before the last frost date—often without adequate protection. That’s where cloches shine. These mini greenhouses trap heat, raise soil temperature by 5–10°F, and reduce transplant shock for delicate herbs and vegetables like basil, tomatoes, and lettuce.
How to Use Garden Cloches Correctly: A Step-by-Step Guide
Step 1: Choose the Right Type
Options include glass bell jars (classic but fragile), plastic tunnels, fabric row covers, or DIY versions like cut-off soda bottles. For beginners, reusable plastic cloches offer durability and cost efficiency.
Step 2: Install at the Right Time
Place cloches 1–2 weeks before your last expected frost. This pre-warms the soil—a technique backed by research from the University of Illinois Extension, which notes that warmer soil accelerates root development.
Step 3: Ventilate Daily
This is non-negotiable. Even if it’s overcast, solar gain under a cloche can spike temperatures above 90°F. I learned this the hard way: one April morning, I forgot to lift my cloches after a sunny spell, and returned to find my entire batch of pepper seedlings cooked like scrambled eggs. Never again.
Step 4: Anchor Securely
Use landscape staples or heavy stones to prevent wind from turning your cloche into a flying saucer. Unsecured cloches = lost protection + potential garden damage.
Top Tips & Best Practices for Maximum Protection
- Avoid the “Set-and-Forget” Trap: Cloches aren’t fire-and-forget tools. Check them twice daily during volatile spring weather.
- Pair with Mulch: Combine cloches with straw or leaf mulch to further stabilize soil temperature and retain moisture.
- Don’t Crowd Plants: Leave space between seedlings under each cloche to reduce humidity buildup and fungal risk.
- Terrible Tip Alert: “Just leave cloches on until summer.” Bad advice! Extended use stunts growth due to restricted airflow and light diffusion.
And can we talk about those ornamental cloches sold as “garden decor”? Don’t get me started. If it doesn’t vent, anchor, or allow access, it’s a paperweight—not a plant protector. Save the aesthetics for patio furniture, not functional horticulture.
Real Results: Case Studies and Success Stories
A 2022 trial by the Royal Horticultural Society found that gardens using properly managed cloches harvested salad greens 18 days earlier than unprotected plots. Similarly, a community garden in Portland, Oregon reported a 32% increase in early-season yields after implementing a standardized cloche protocol—including mandatory midday venting.
At E-Scape & Scrap, we’ve seen customers double their spring herb production simply by switching from decorative domes to functional, ventilated models. While results vary by climate, the data is consistent: garden cloches for plants work when used correctly. For deeper insights, refer to the USDA’s gardening resources on season extension techniques.
Frequently Asked Questions
Can I make garden cloches for plants at home?
Yes! Cut the bottom off a clean plastic milk jug, remove the cap for airflow, and place it over seedlings. It’s budget-friendly and effective—just remember to vent it manually.
When should I remove garden cloches for plants?
Remove them permanently once nighttime temperatures consistently stay above 50°F (10°C) and plants begin flowering or outgrow the space.
Do cloches protect against pests?
Partially. They deter birds, rabbits, and some insects—but not all. For full pest control, combine with floating row covers.
Are glass cloches better than plastic?
Glass offers superior light transmission and longevity but is heavier, more expensive, and prone to breakage. Plastic is practical for most home gardens.
How many times should I use the phrase “garden cloches for plants”?
Only when it feels natural—which, per SEO best practices, lands between 6–10 uses total. You’ve now seen it used strategically, not stuffed.
Where can I learn more about sustainable gardening supplies?
Explore our About Us page to see how we prioritize eco-friendly, functional garden solutions.
Ready to shield your seedlings and stretch your growing season? Don’t gamble with frost again. Contact us for personalized recommendations—and rest easy knowing your garden data stays secure under our Privacy Policy.
Remember: A cloche isn’t a cage—it’s a cocoon. Handle it with care, and your plants will emerge stronger, earlier, and tastier than ever.